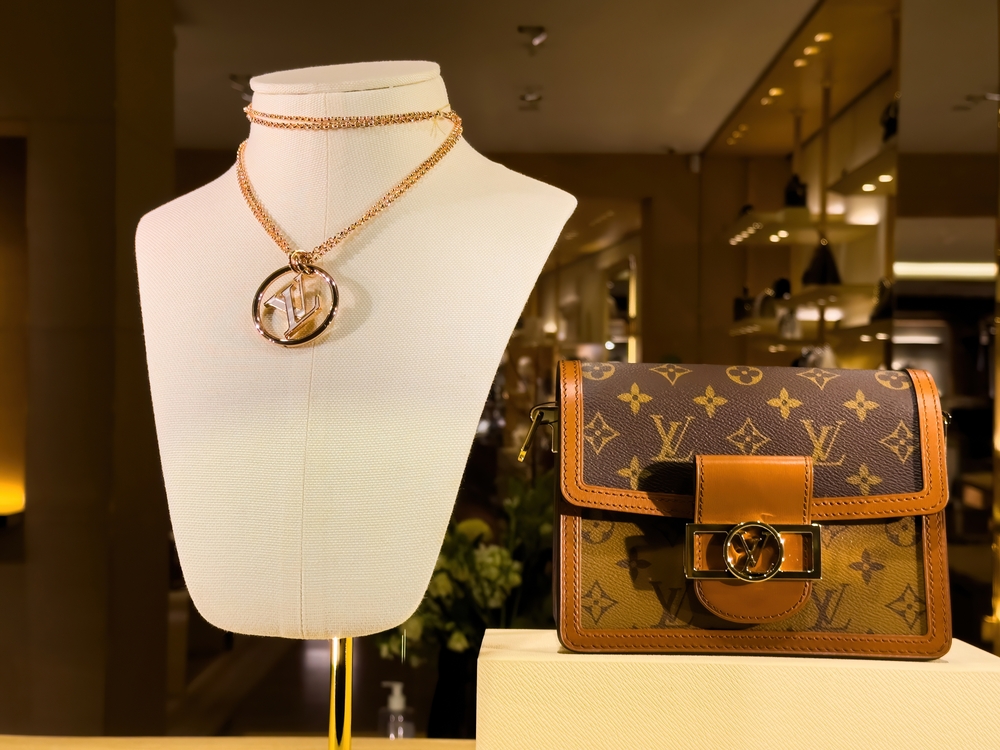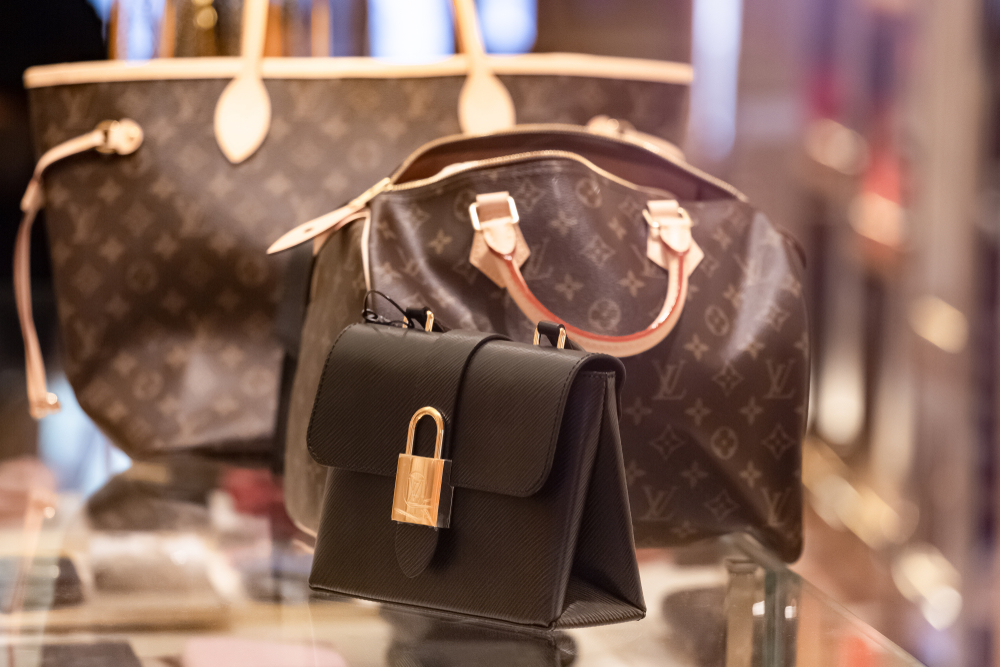
You’ve just bought a pre-loved Louis Vuitton bag, or maybe you’re looking to sell one. You need to know if it’s the real deal. You find a reputable authentication service, get your credit card ready, and then you hit a wall: the photo upload page.
Authentication is a science, but getting the right answer starts with you. The number one reason for delays in the authentication process isn’t a backlog of orders—it’s insufficient photography. When an authenticator has to squint at a blurry date code or guess the texture of the canvas because of a glare, they can’t give you a definitive answer.
To get a fast, accurate result, you need to provide clinical-grade evidence. This guide will walk you through exactly how to capture the perfect shots for luxury item authentication, ensuring you get your “Authentic” or “Counterfeit” verdict without the back-and-forth.
Why Photo Quality Makes or Breaks Authentication
Before we dive into the “how,” let’s talk about the “why.” Professional authenticators rely on microscopic details that the naked eye might miss. We look at stitch count, the angle of the thread, the grain of the leather, the font on the hardware, and the specific sheen of the stamping.
If your photos are dark, blurry, or taken from too far away, you are essentially asking an expert to do their job blindfolded. Clear photos allow us to:
- Speed up the process: We don’t have to email you asking for “just one more shot of the zipper pull.”
- Increase accuracy: High-resolution images reveal the subtle tells of a super-fake versus a genuine article.
- Save you money: Avoiding re-submissions means you get the service you paid for immediately.
Whether you are using our detailed Services & Pricing options or just need peace of mind, good photos are your best investment.
The Golden Rules of Authentication Photography
Photography for authentication is not the same as photography for Instagram. You aren’t trying to make the bag look moody, artistic, or “aesthetic.” You are trying to document it. Think of it less like a fashion shoot and more like a crime scene investigation or a medical scan. You want raw, unfiltered reality.
1. Lighting is Everything
This cannot be overstated: bad lighting is the enemy of accuracy.
Natural Light is King
The absolute best light source is indirect natural daylight.
- Do: Set your item near a large window during the day.
- Don’t: Put the bag in direct, harsh sunlight. This creates hard shadows and glare on shiny hardware, making engravings unreadable.
Avoid Artificial Yellow Light
Most home lighting is “warm” or yellow. This distorts colors. If an authenticator is trying to determine if a bag is “Damier Azur” or just a dirty “Damier Ebene,” yellow light makes it impossible.
- Do: Use white, cool LED lights if natural light isn’t an option.
- Don’t: Use the flash on your phone. Flash creates a “hot spot” of white light that washes out the very details we need to see, like the texture of the canvas or the depth of a heat stamp.
2. Steady Hands, Sharp Focus
Blur is the number one reason photos get rejected.
- Tap to Focus: On most smartphones, tapping the screen on the specific area you want to capture (like the logo) locks the focus.
- Zoom with Your Feet, Not Your Phone: Digital zoom reduces quality. Instead of pinching the screen to zoom in, physically move your phone closer to the object. However, don’t get so close that the camera can’t focus. If you need a macro shot, back up slightly and crop the image later if you have a high-resolution camera.
3. The Neutral Background
Place your item on a plain, neutral background. A white sheet, a plain table, or a clean floor works best. Busy patterns or cluttered backgrounds distract the eye and can mess with your camera’s autofocus.
The Essential Shot List: What We Need to See
Every item is different, but for standard Louis Vuitton authentication, there is a core set of photos required. If you provide these upfront, you will fly through the process.
The “Big Picture” Shots
Start with the exterior. We need to see the overall shape, posture, and alignment of the bag.
- Front View: Straight on, not from a high angle.
- Back View: Directly from the back.
- Sides: Both left and right profiles.
- Bottom: Show the base of the bag.
- Top: A view looking down into the bag (if open) or the top zipper area.
Why this matters: These shots help us identify the model and spot major structural flaws. A fake bag often has the wrong “slouch” or rigidness compared to the authentic counterpart.
The Heat Stamp (The “Made In” Stamp)
This is often the most critical identifier. The heat stamp is the “Louis Vuitton Paris made in…” text stamped into the leather.
- How to shoot it: Get close. Ensure the text is crisp. We need to see the font style, the depth of the impression, and the spacing between letters.
- Common Mistake: Taking the photo at an angle. Shoot it straight on so we can assess the alignment of the letters.
The Date Code
For most Louis Vuitton items produced before March 2021, the date code is essential. It is a series of letters and numbers hidden somewhere inside the bag.
- Finding it: It might be embossed on a leather tab, stamped into the lining of a pocket, or near a seam. It is often hard to reach.
- How to shoot it: You may need a friend to hold the pocket open while you take the photo. Use a flashlight (not the camera flash) held at an angle to create shadows inside the grooves of the embossing. This makes the numbers pop out against the leather.
- Note on Microchips: Newer bags have RFID chips instead of date codes. If you suspect your bag is new, let us know, but still photograph the “Made in” stamp clearly.
Hardware and Engravings
Counterfeiters often struggle with hardware. The quality of the metal and the precision of the engraving are huge tells.
- Zipper Pulls: Close-up of both sides.
- Rivets and Screws: We need to see the tiny logos on the rivets.
- Clasps and D-Rings: Any piece of metal with a marking needs a photo.
- The Zipper “Nose”: The underside of the zipper carriage (the sliding part) often has branding marks that are specific to authentic goods.
Stitching and Interior
Don’t ignore the threads.
- Corner Stitching: Take a close-up of how the stitching handles corners. Is it sloppy? messy? uneven?
- Handle Attachments: Where the handle meets the bag is a high-stress area often reinforced with specific stitching patterns.
- Interior Lining: A clear shot of the fabric or leather lining helps us check for the correct material and color.
Troubleshooting Common Photography Issues
Even with the best intentions, things go wrong. Here is how to fix the most common problems we see when clients submit photos for luxury item authentication.
“My camera won’t focus on the date code.”
This happens because date codes are usually in tight, dark corners.
- The Fix: Don’t force the camera inside the pocket. Pull the pocket lining out as much as safely possible. If that doesn’t work, take the photo from slightly further away (where focus is sharp) and crop the image. Use an external flashlight to illuminate the code.
“The hardware looks like a white blob.”
This is caused by glare. Hardware is reflective. If you use flash or direct overhead light, it bounces right back into the lens.
- The Fix: Diffuse the light. Hold a piece of white paper between the light source and the hardware to soften the glare. Alternatively, shift your angle slightly so the light doesn’t reflect directly into the lens.
“The colors look wrong.”
A bag that is supposed to be a rich maroon looks brown, or cream looks yellow.
- The Fix: Check your “White Balance” settings if you are using a pro camera. On a phone, tap the screen on a white part of the image (like your background) to tell the camera “this is white.” This usually auto-corrects the other colors.
Specific Tips for Louis Vuitton Canvas
Louis Vuitton Monogram and Damier canvas have a specific texture. It is a pebbled, grainy surface.
- Macro Mode: If your phone has a macro mode, use it on the canvas. We want to see the “grain.”
- The LV Logo: On Monogram bags, take a close-up of an “LV” logo. The way the gold paint sits on the canvas texture is a major indicator of authenticity. Authentic paint often has a specific striation or texture, while fakes can look flat or too thick.
Why We Need “Ugly” Photos
It sounds counterintuitive, but sometimes the “ugliest” photos are the best for authentication. We aren’t looking for beauty; we are looking for truth.
- Wear and Tear: Don’t hide the scratches. If there is peeling on the inside pocket, photograph it. If the glazing on the handle is melting, show us. These degradation patterns can actually help verify the age and material of the bag.
- Dust and Lint: While you should wipe the bag down, don’t worry if there is a little dust in the corner of a pocket. It shows the bag is real and being used.
The Process: From Photo to Verdict
Once you have gathered your high-quality images, what happens next?
- Upload: You submit your photos through our secure portal.
- Review: Our experts review the images. If they follow the guidelines above, we can get to work immediately.
- Analysis: We compare your images against thousands of data points, historical records, and known counterfeit markers.
- Verdict: You receive a determination.
If you look at our Reviews, you will see that many of our happiest clients are those who received their results in record time. Almost invariably, these clients provided excellent photos right from the start.
Checklist for Submission
Before you hit send, run through this quick checklist to ensure your photo tips for authentication were followed:
- Are all photos in focus?
- Did I turn off the flash?
- Is the date code readable?
- Did I include the “Made in” stamp?
- Are there close-ups of the hardware engravings?
- Is the lighting natural and bright?
- Did I capture all sides of the bag?
When in Doubt, Over-Communicate
If you are struggling to get a clear shot of a specific detail—perhaps the bag is vintage and the date code has faded almost completely—include a note with your submission. Tell us, “The date code is in the pocket but very faded, I tried my best to capture it.” This context helps the authenticator understand that the lack of detail is due to the item’s condition, not your photography skills.
Conclusion: Your Camera is the Key
In the world of online luxury, your camera is the bridge between uncertainty and confidence. By taking the time to capture clear, well-lit, and detailed photographs, you empower authenticators to do their best work. You protect yourself from scams, ensure you get the fair market value for your sales, and gain the assurance that your treasured collection is 100% genuine.
Remember, we authenticate Louis Vuitton because we know it inside and out. But we can only interpret what we can see. Give us the eyes to see your item clearly, and we will give you the truth about its origins.
Ready to find out if your item is the real deal? Check out our services and let’s get that bag authenticated.
Louis Vuitton Authentication made easy!
You are unsure if you are looking at an authentic or fake LV? We offer the quickest and the most accurate way to get it authenticated for your peace of mind.
Authenticate Now